
Microsoft Azure provides big data infrastructure through the HDInsight product. However, they bill you per hour no matter if you use the computing resources or not. One option is to destroy clusters when they are not needed, but to get the clusters back up with minimum effort it is best to use predefined scripts or templates. This post shows you a few alternatives how to accomplish this.
Accessing templates from the Azure portal
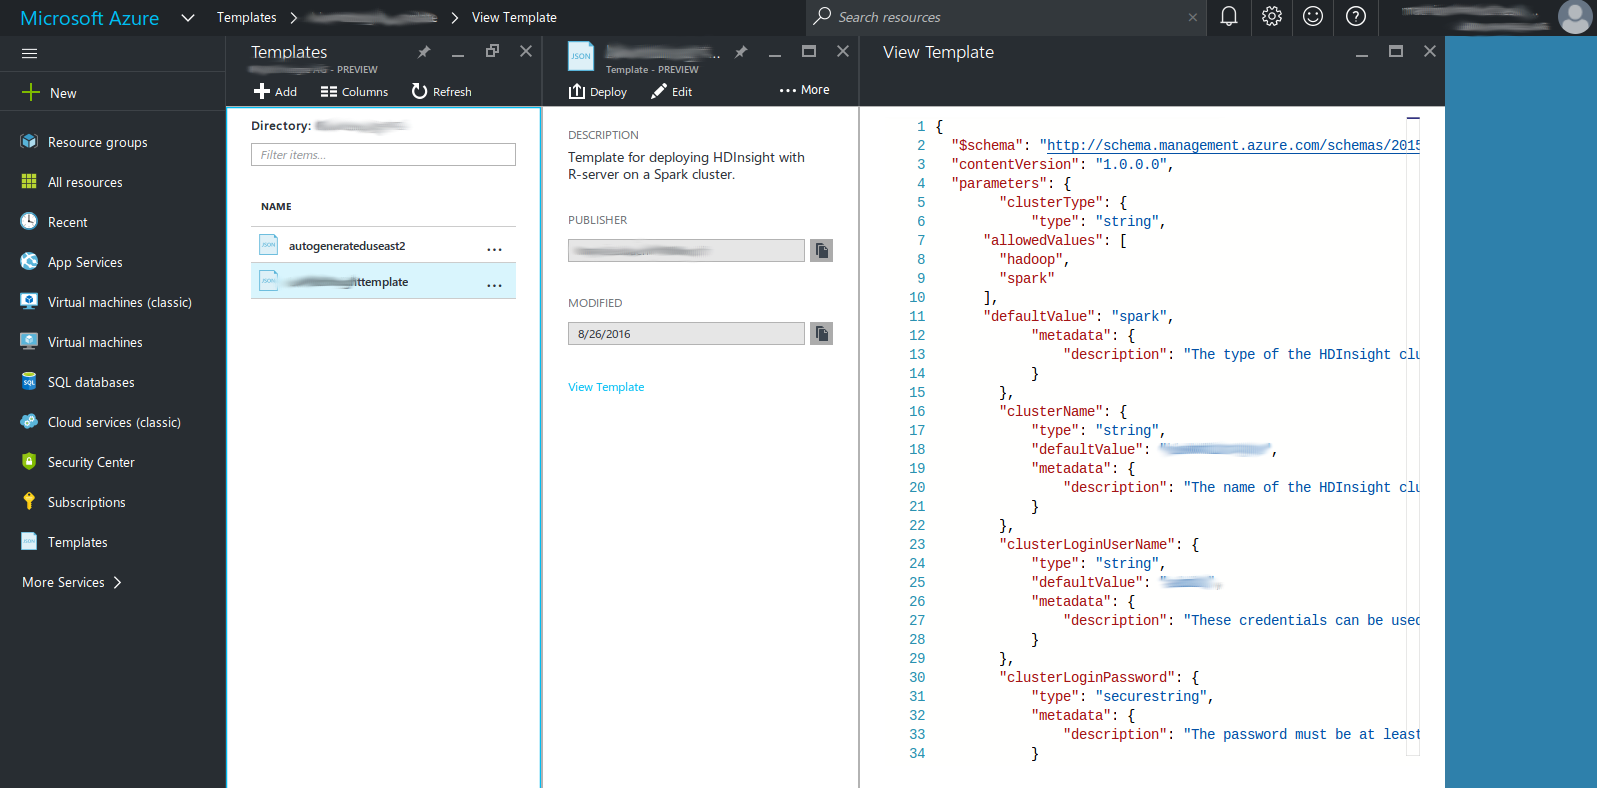
Your templates are collected in one central location on the Azure portal, conveniently named "Templates". To find it click on "More Services >" in the bottom left, and select it. I recommend saving this blade as a favourite to always have it visible in the left pane.
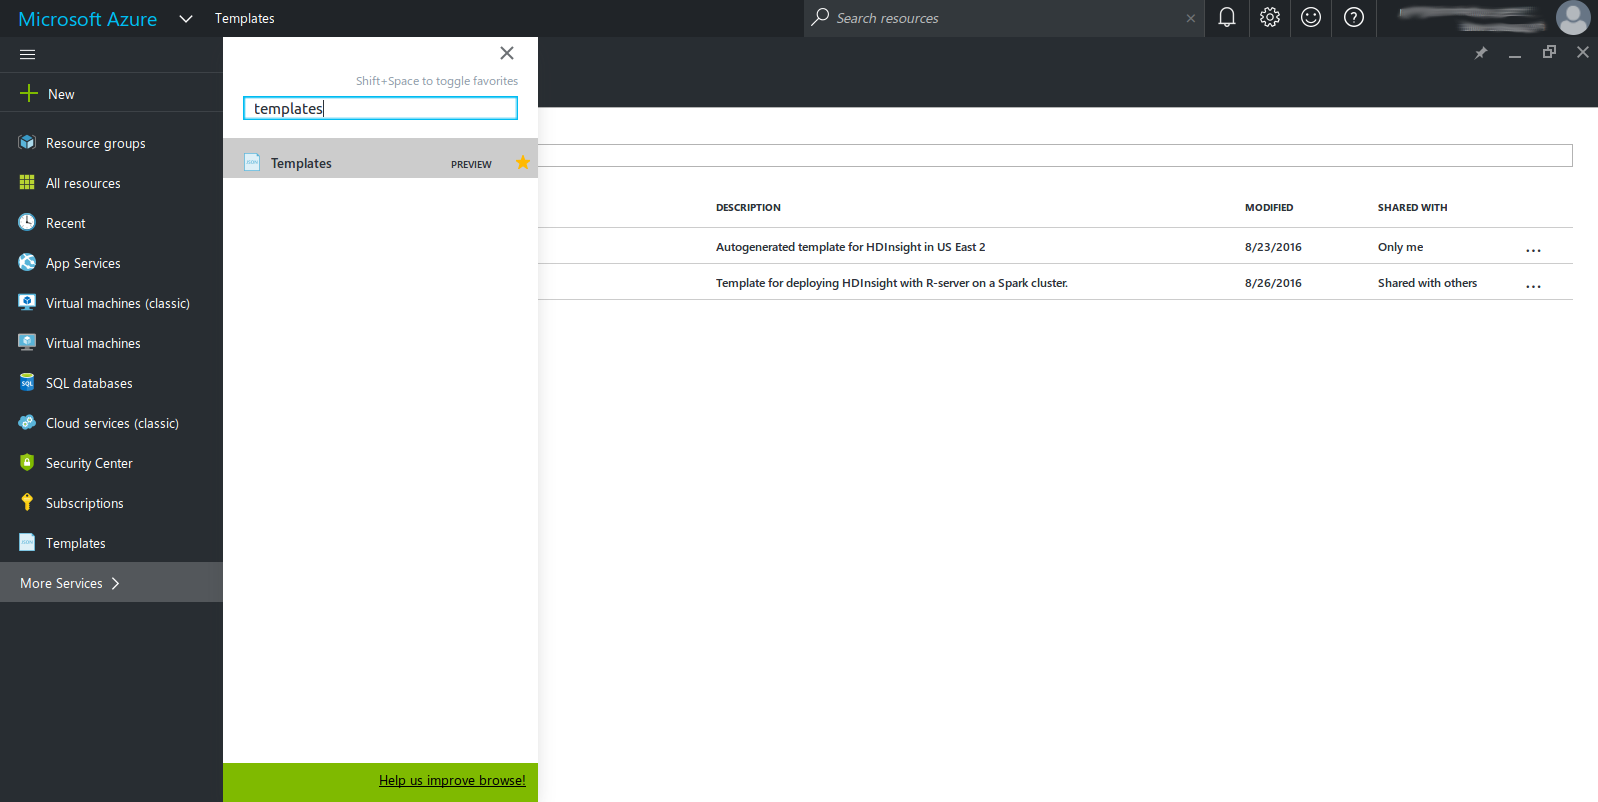 This will show you a list of saved templates which you can edit and deploy. It is likely an empty list if you did not yet create any template, so let's get straight to creating one.
Save existing cluster as a template
It is possible to export the configuration of an running cluster as a template. From the Azure portal, go to the HDInsight cluster blade. The menu item "Automation script" shows you the configuration of the current HDInsight cluster.
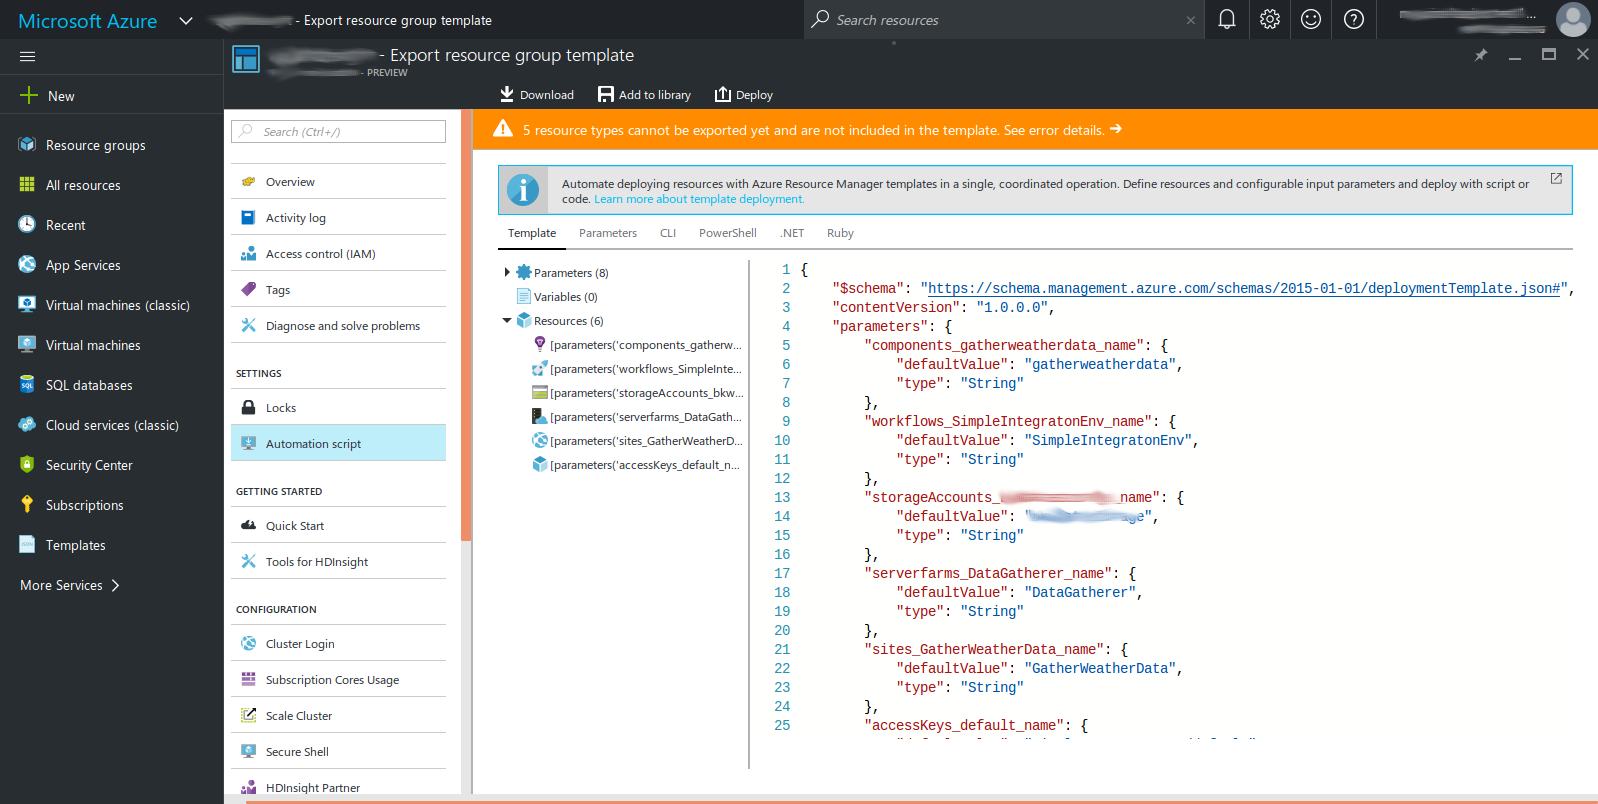 Click on "Add to library" to save this template to your collection of templates in the Azure portal.
By the time I am writing this post, this export feature does not work well, as is evident from the orange warning message. The cluster I created from these auto generated templates were not achieving the desired result. I had better success with the following method:
Use Azure quickstart templates
There is a maintained repository of pre-configured templates at github. It contains many useful templates to use or look at for inspiration.
It should be possible to use the links that Microsoft provides on the github pages to deploy a new cluster with a single click. In practice I always had issues with this process so I prefer to (1) copy the content of an quickstart template into the Template blade of Azure portal and (2) save it as a new template.
Select a template that fits your purpose and adapt it by adding in some default values. It will decrease the manual labour of recreating the cluster and also reduce the risk of providing the wrong parameter values, e.g., the cluster name.
Deploy template
Once the template is properly configured, hit the "Deploy" button. If you filled out the configuration with sensible default, you just need to type in the passwords, accept the conditions and click "Create" to deploy the cluster.
 It will take about 20 minutes to start all services, depending on your configuration.
If one service fails, you can edit the template and repeat the steps above. It will not touch services which were marked as successful in the previous deployment.
Next steps
It is possible to script post-deployment actions in the template, saving you the trouble of manual installation of applications such as R-Studio. This will be shown in another blog post.
Comments !